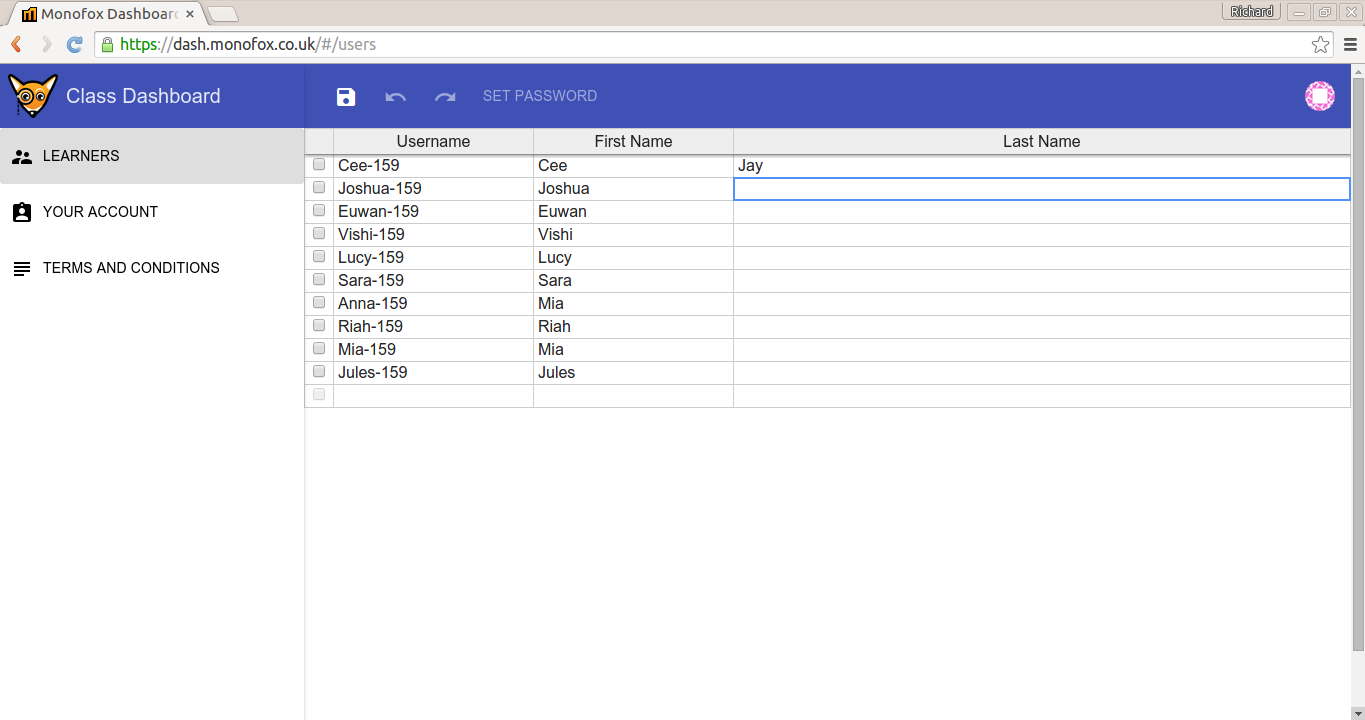
Consider a spreadsheet user management interface that allows creating and updating users in web spreadsheet. It must validate that usernames have not been used before:
An obvious solution is to ask an endpoint if the username has already been taken. However, the admin user will experience a small lag due to the round trip from client to server: there will be at least a tenth of a second lag before the user is informed the username cannot be used. The impact is compounded when the admin user is managing many users in the spreadsheet interface.
This post will explain how to avoid that round trip completely and thereby eliminating the delay between when the user enters text and when they are prompted it’s invalid, which improves user experience.
Goal
We want the browser to have knowledge of all taken usernames without knowing what those usernames are, and without needing to call the server.
We obviously won’t give the browser a list of usernames. Words like “hacker” and “brute force attack” spring to mind. Some of those usernames will have really weak passwords! Plus there are privacy concerns because some of those usernames might be email addresses that can identify an individual human.
So, how can the browser have this knowledge without having the usernames?
Bloom filters
Skip this section if you already know what a Bloom filter is.
A Bloom filter is a space efficient data structure for testing if an element is a member of a set. Once the element (e.g., the string “How it’s Made”) is added to the Bloom filter it can later tell you whether it has already seen “How it’s Made” without having to store the literal value – which saves no end of space when we consider that millions of elements can be added to the Bloom Filter.
A simple interface might look like:
> bloomFilter.add("Get your own back")
> bloomFilter.check("Get your own back")
= true
> bloomFilter.check("not found")
= false
Internally the Bloom filter is a bit array. When we add “50/50”, some probabilistic hash functions convert the value to a series of integers. These integers represent indexes of the bit array, and the bits at these indexes are switched to 1.
Later when we check if “50/50” has been seen, the value is passed through the same hash functions returning the same series of indexes. If all bits at those indexes are 1 then it is assumed the value has been seen before. There is risk of false positives: the Bloom filter might erroneously say something has already been encountered.
For hands on, see this interactive example.
Bloom filter for profit
So, by now you see we can add all the used usernames to a server-side Bloom filter, but it might look like we’re no closer to out goal – the bloom filter would still be on the server, and we would still need to send the username to it to check validity. Well, straw man, that’s incorrect!
We can expose the Bloom filter’s internal bit array to the browser so the browser can use it to create a new Bloom filter on the browser, without any further need to talk to the server! The general flow:
- Create a micro service that maintains a Bloom filter – adding usernames to the Bloom filter.
- Expose the component pieces of the Bloom filter on an endpoint, so the Bloom filter can be re-created elsewhere.
- A browser calls the endpoint and creates the client side bloom filter, then uses the client-side bloom filter for validating usernames.
I created a super simple proof-of-concept bloom filter as a service using Node and ExpressJS – which is available on github. I’m a lazy namer so I called it “bloomy”.
Client side
I implemented the client-side code in an Angular app. It looks like this:
// `getBloomy` promise resolves with response from bloomy's endpoint. Note `BloomFilter` is an global object introduced by including the file `public/javascripts/BloomFilter.js`, which is included in the github repo.
getBloomy().then(function(response) {
    myService.bloomFilter = new BloomFilter({capacity: response.capacity});
    myService.bloomFilter.filter = response.filter;
    myService.bloomFilter.salts = response.salts;
});
// later on, using the client side bloom filter
myService.bloomFilter.check(value) // true or false
The `getBloomy` code is called in the `resolve` property of angular-ui-router FWIW.
Outcome
Now we have eliminated the need to call the server when the user enters the username – the browser already “knows” if the username has not been taken. Spooky!
There are lots of room for improvement, and my use-case and tech stack will likely be different to yours, but that’s why forking and PR’s were invented 🙂
The solution is not without its problems, however:
- The server-side and client-side Bloom filter implementations must be exactly the same for exporting and importing of bit arrays to work. I tried making a Python Bloom filter interoperable with Javascript. Take heed it creates only headaches. The easiest thing is to use exactly the same Bloom filter implementation on client and server side – which I have included in the repo.
- Hackers can extract usernames from the client-side Bloom filter by brute forcing the Bloom filter (“bloomFilter.check(‘a’); bloomFilter.check(‘aa’); bloomFilter.check(‘aaa’)). Brute force attacks on you login endpoint can be rate limited. Not if the Bloom filter is on the client side! This might be solvable with further investigation.
- Data consistency problems/single source of truth issues: a user can be created on the server after the point the server-side bloom filter was exported. The client-side bloom filters will now be unaware a username is no longer available, and erroneously say the username is valid. This can be worked around by pushing the bloom filter bit array to browsers whenever the bloom filter changes. This can get mad hairy.
- Once an item is added to the Bloom filter it cannot be removed. This is possibly OK for usernames – as there is a schools of thought that argues usernames should be historically unique. However, if we want to remove items, we can implement a Cuckoo Filter instead.
- Currently the repo code assumes a max Bloom filter size of 10,000. You might have more. This can be resolved by using a scalable bloom filter.
Conclusion
The “bloom filter as a service” approach replaces 1 tiny user experience problem with a few technical problems which if mismanaged can lead to huge user experience problems such as incorrect validation results.
Moreover, if the use-case is username validation then an attack vector is introduced. Let’s not do that in production. A better usage in real life could be any other client-side validations that involve testing against a whitelist or blacklist such as “adding a tags to a post”, “preventing the user inserting links to naught websites”, etc.
